How Can We Help?
Overview:
This article covers the steps for setting up your GrokSpark GTM Messaging Hub Starter or Team Edition with your messaging using the default messaging framework. Once you have completed these steps you will have a messaging hub that is ready for use.
Don’t worry if you don’t have all your messaging “ready” or you think you will add more later. You can always perform the basic steps at any time including modifying anything you’ve already done. This article is about the most efficient way to set up your hub.
Steps include:
- Adding messages
- Relating messages
- Prioritizing messages
- Publishing messages
Default Framework:
While the messaging framework can be customized for your specific needs, there is a default framework. The framework includes the first 8 active message types as follows:
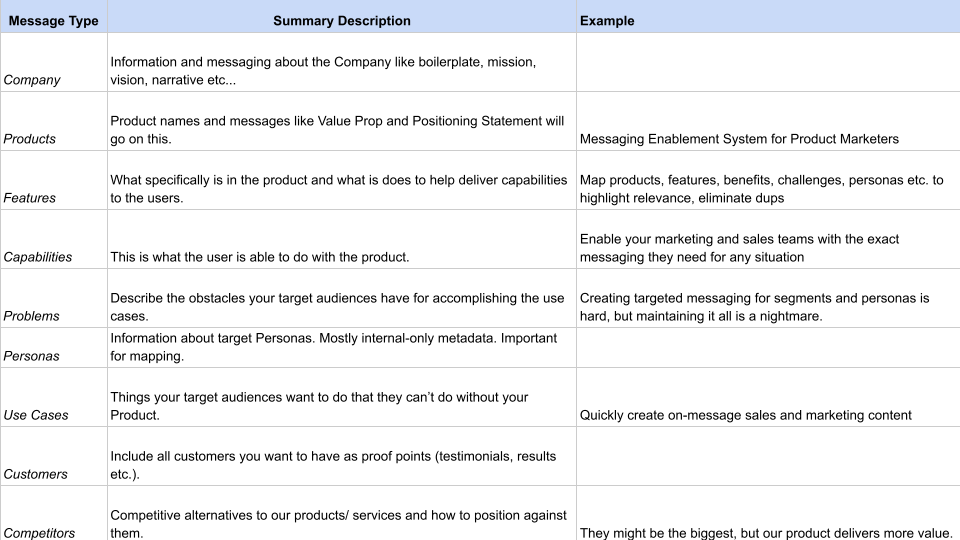
Starter and Team editions have a limited number of message types. You can make inactive default message types or activate the inactive message types or create your own as your license permits. For more information on customizing your framework see this article
Adding Messages:
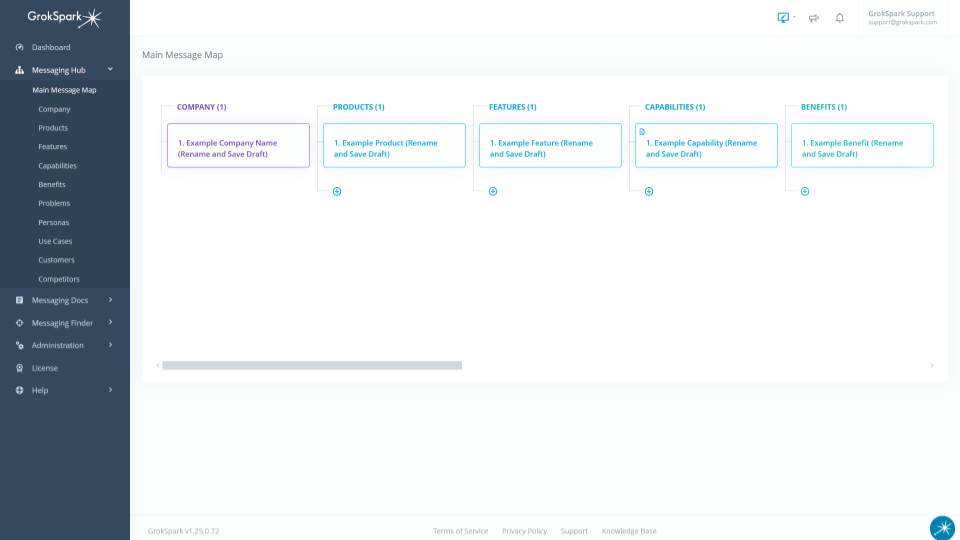
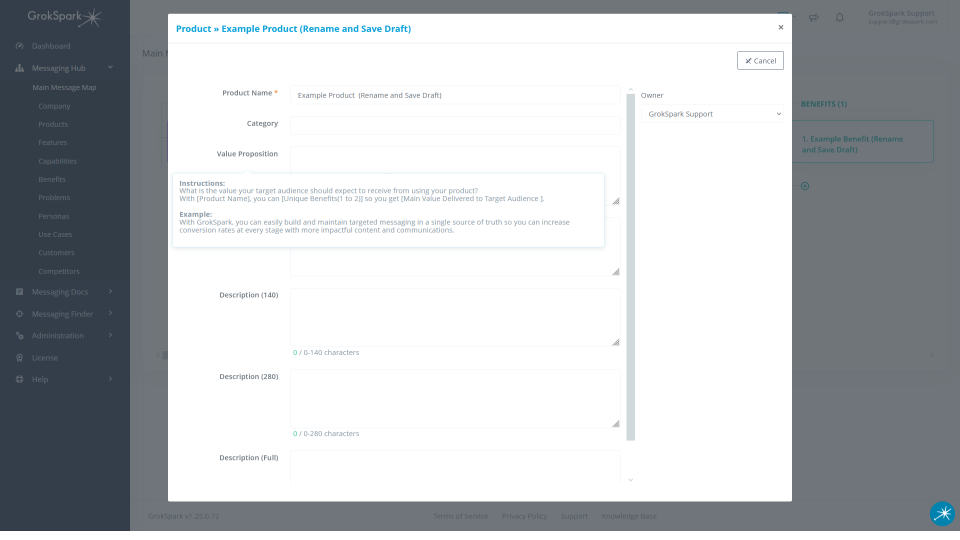
To add your messaging, navigate to Messaging Hub > Main Message Map. Here you will see all 9 of the default message types and you can start adding your messaging by clicking on the example messages and clicking on the Quick Edit button.
For additional AI Commands you can use to help you write your messaging see this article.
Once you have filled out the message click the Save Draft button.
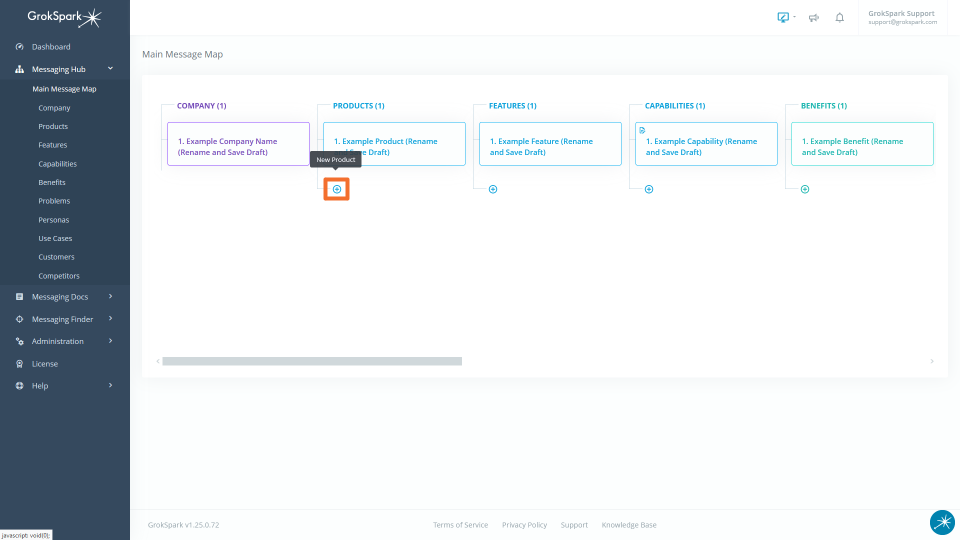
To add another message of a message type where you have already filled out the Example message, click the plus icon at the bottom of the list.
Note: If you want to make any of the message types inactive or you want to customize the framework or see additional details about importing, collaborating etc. see this article
Relating Messages:
Once you have added your messaging, it’s time to relate them. By relating (mapping) them to other messages you indicate where each message is relevant (see examples below). The relationships are what determines which messaging will appear in the filtered messaging guides.
To complete this step you will need to manually relate some messages and in most cases other messages will then be automatically related. For example, if you relate a Feature to a Capability, the Product the Feature is in will automatically be related to that Capability.
Relations can always be modified whether they are related manually or automatically.
Examples:

Generally, the most efficient order for relating messages is as follows, but it doesn’t really matter because the auto-relations rules will work regardless of order.
- Products to Features
- Capabilities to Features and Problems
- Personas to Use Cases and Problems
- Use Cases to Problems
- Customers and Competitors (if active) to everything else
To relate Products to Features, navigate to the Product you want to relate to (either from the Messaging Hub > Main Message Map or from Messaging Hub > Products. And go to the Related Messages tab.
To add a related message, just click the plus sign below the Features column and select the features you want to relate and click the Relate Selected button.
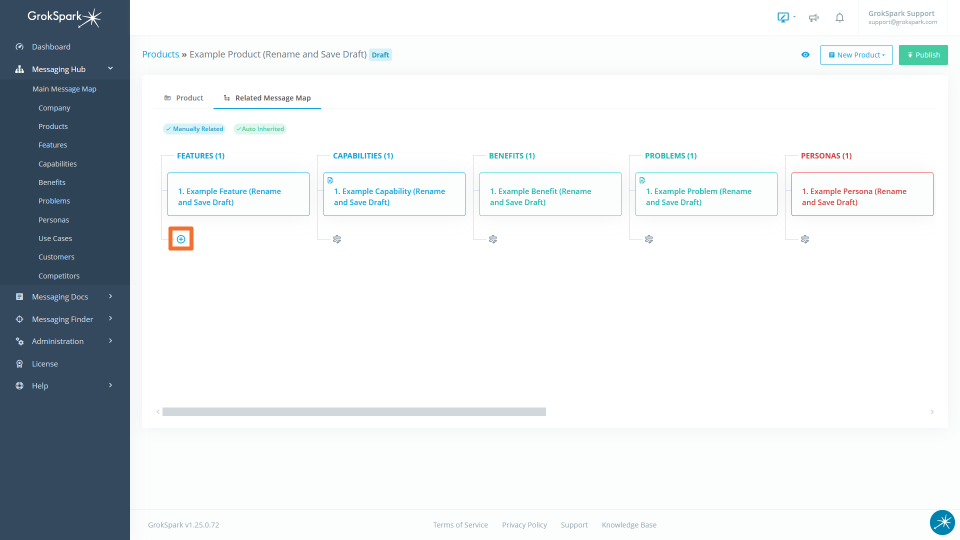
The related messages will be in a draft relationship status and will only be published when you click the Publish button on the message. See more about draft relationships.
Prioritizing Messages (optional):
If you want, you can prioritize which messages of each type are most important. This will determine which messages are listed first in the Messaging Guides. For example, if you have a section for “Top 3 Features” then it will only show the ones you have prioritized as the top 3.
Global Prioritization
The simplest way to prioritize is by going to Messaging Hub > Main Message Map and then drag and drop the messages of each type until they are in prioritized order.
Specific Prioritization
You can also prioritize from the specific perspective of each message. Frequently users will prioritize for each Persona and Use Case to indicate which are the key Problems, Benefits and Features for each. You can do this by going to the Related Messages tab for each message you want to set prioritizations for.
Publishing Messages:
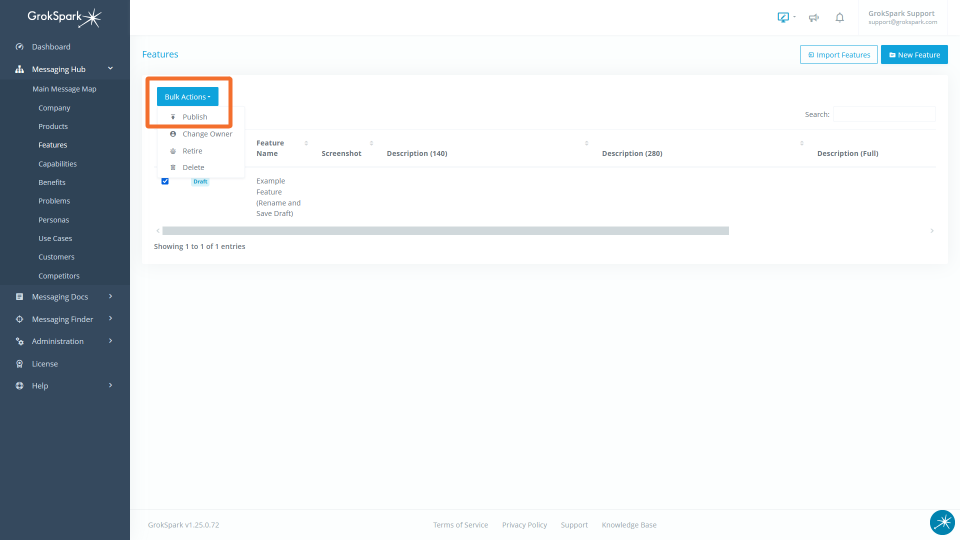
When you are ready for others to see your messaging, it’s time to publish your messages. You can publish the messages individually from each message or you can publish in bulk by checking the boxes next to each message you want to publish in the message type list and clicking the Bulk Actions button.
Role |
Permissions |
| Basic | None |
| Contributor | None |
| Author | Create and publish new messages and relations |
| Editor | Create and publish new messages and relations |
| Admin | Create and publish new messages and relations |
